The final is a CD that contains the following:
1 A folder containing the completed House Project. Read over the assignment to make sure you have completed all the requirements.
2 A folder containing the completed Surface Project. Read over the assignment to make sure you have completed all the requirements.
3 A folder containing all tutorials.
4 A folder containing studio work modeled in Maya, and/or rendered in Maxwell.
5 Extra stuff/credit. There were three extra credit assignments: 1 the notes from the scripting seminar, with an example modeled. 2 A Erwin Hauer screen modeled and rendered. 3 A rendered of the house project. I will also except other completed studies and projects modeled in Maya in the last semester. And when I say completed I mean don't give me a bunch of crap.
The file is due in class on Saturday April 24th at 9:30 am. Do not leave anything for me in my box or in the office, because I will not see it, and you will get a BIG FAT F on the final.
Saturday, April 18, 2009
Saturday, April 4, 2009
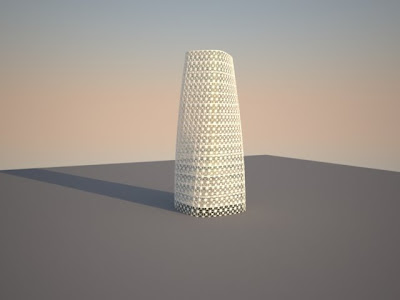
Final Tutorial
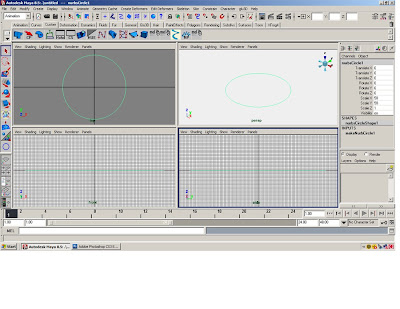
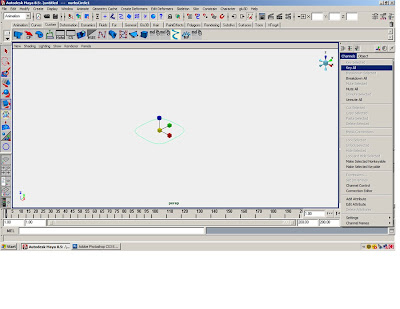
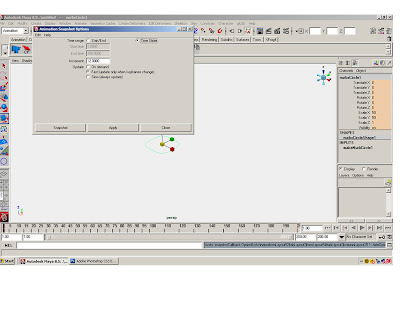
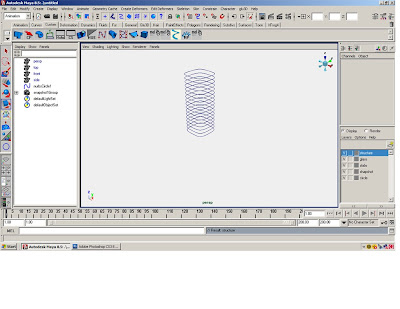
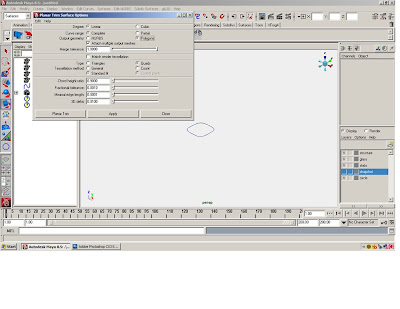
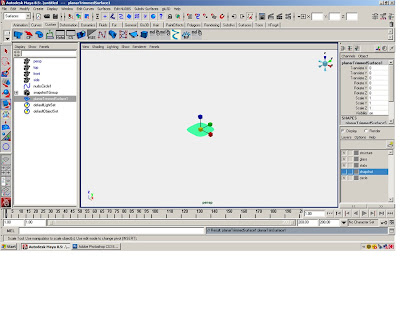
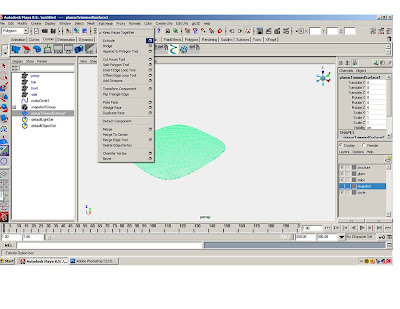
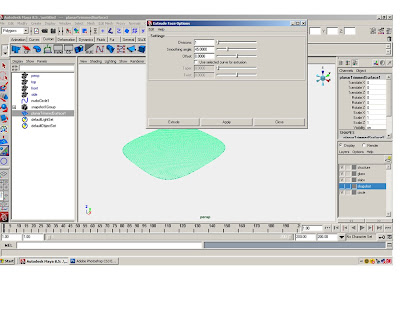
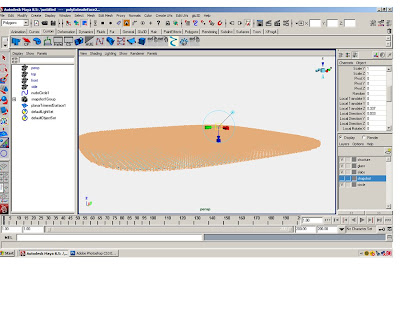
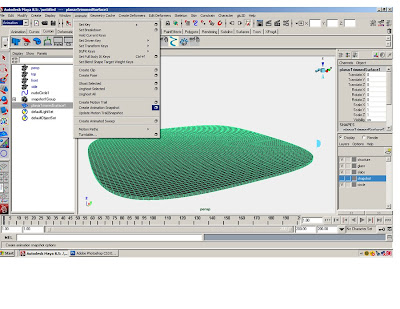
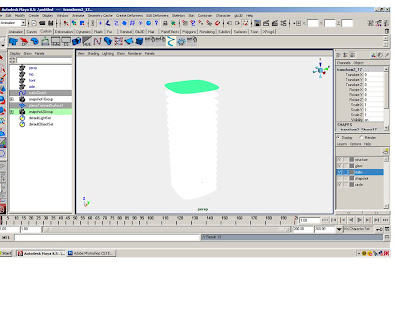
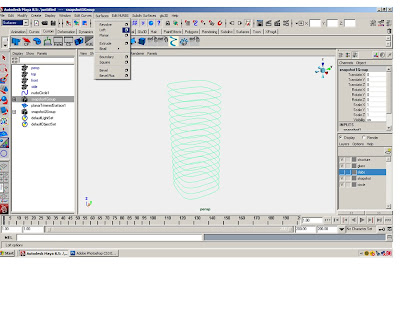
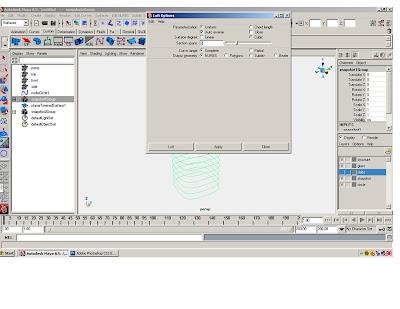
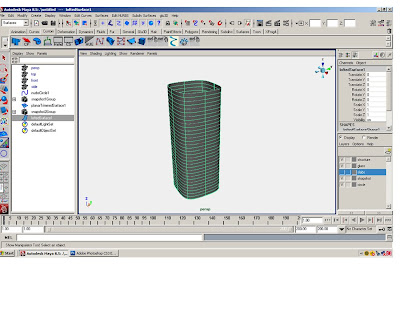
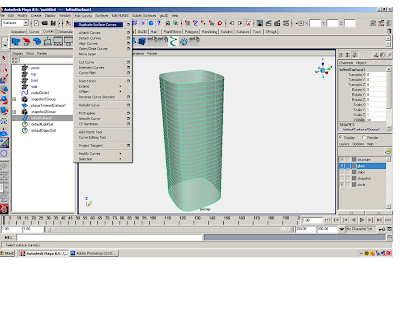
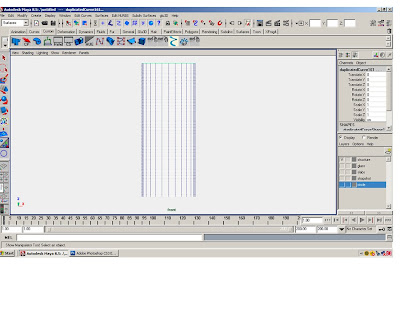
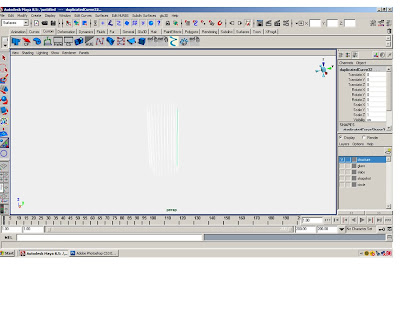
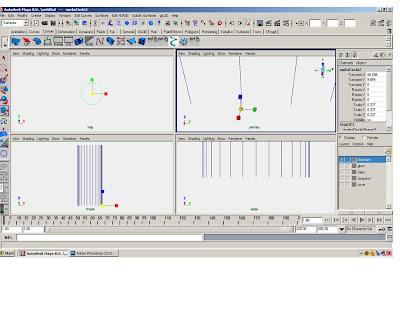
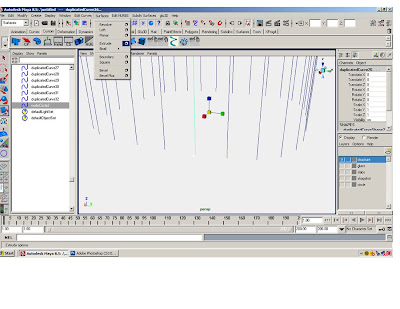
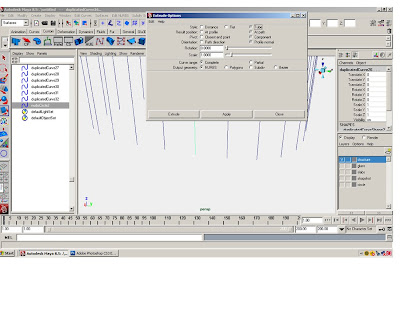
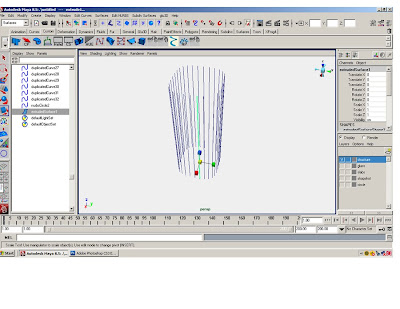

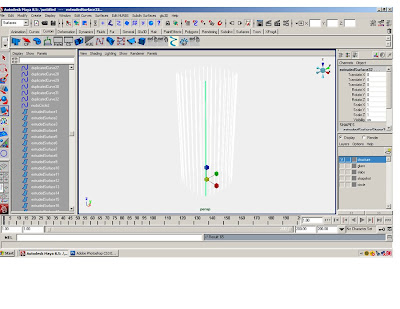
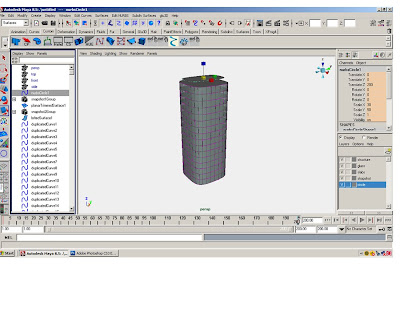
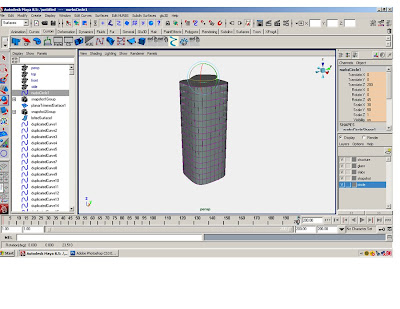
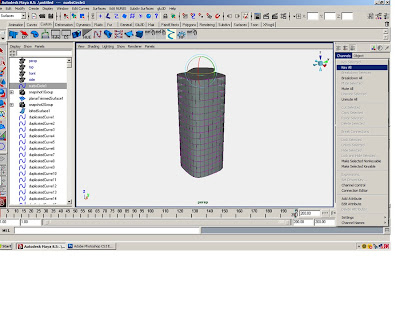
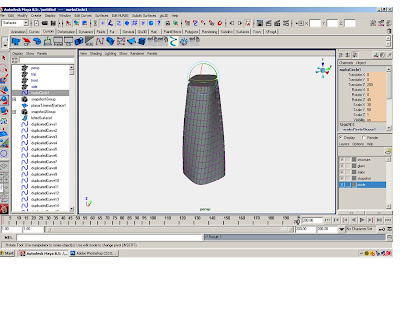
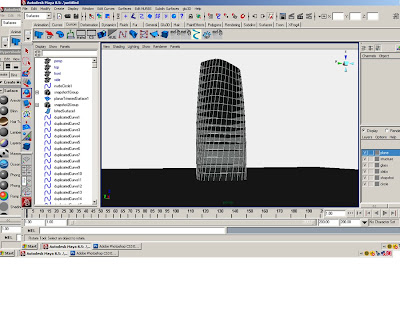 1.Create a NURBS circle, radius = 1, scale the circle to 50x50.
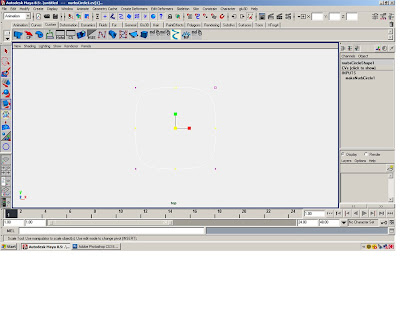
2.Scale the CV to square off the circle.
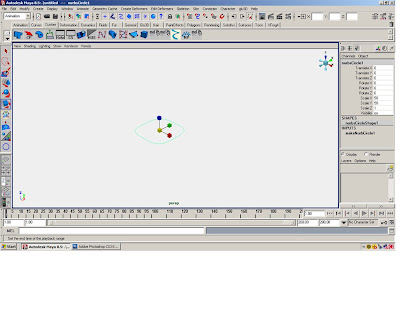
3.Change the frames from 24 to 200.
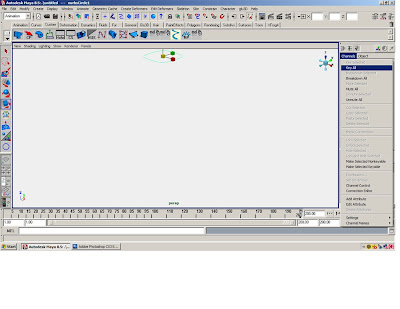
4.In the channel editor go to channels > key all circle at 1. A red line should appear at the number one on the time slider.
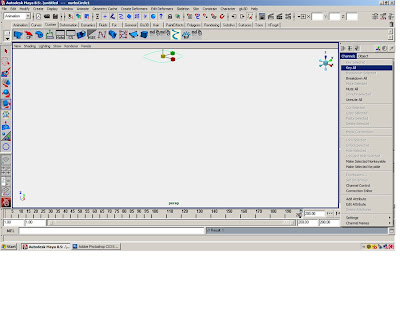
5.Move the time slider to 200. Translate the circle to 200 on the z-axis. In the channel editor go to channels > key all the circle at 200. A red line should appear at the number 200 on the time slider.
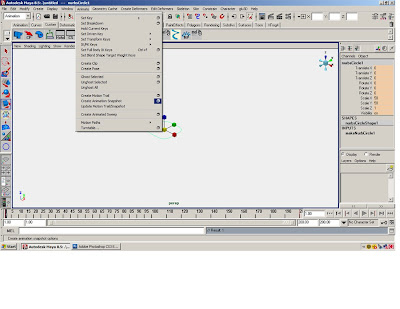
6.In the animation menu go to animation> Create Animation Snapshot click on the box.
7.In the Create Animation Snapshot window select Time Slider, change the increments to 12.00 and select Fast Up Date on Demand.
8.A snap shot group should appear in the options window. Create 5 layers: structure, glass, slabs, snapshot and circle. Put the stuff on the right layers.
9.Turn off the snapshot layer. Select the circle. Go to the surface menu. Select surface>planer click on the box.
10.Select polygons, quads, standard fit, and turn the sliders on the bottom of the window all the way down.
11.Extrude the polygon surface .337, use the “local translate z” for an exact measure.
12.Select the extruded polygon surface. In the animation menu go to animation> Create 13.Animation Snapshot click on the box.
14.In the Create Animation Snapshot window select Time Slider, change the increments to 12.00 and select Fast Up Date on Demand.
15.Put the snapshot in the slab layer and turn it off. Open the layer with the snap shot of circles.
16.In the surface menu, go to surface>loft, click on the box. Select NURBS and make the section span= 2
17. Put lofted surface on glass layer. Close snapshot layer.
18.Select the lofted surface. In the surface menu go to edit curve>duplicate surface curve.
19.In the side view, select the horizontal curves and delete them. (Or put them on a layer and turn them off—you can always use them for something else.)
20.Create a NURBS circle, scale the circle to .337, and extrude the circle along the vertical curves (Just like tutorial 3).
21.Put all those extruded surfaces and vertical curves on the layer structure.
22.Turn all the layers on. In the options window select the original circle. Move the time slider all the way to 200.
23.Scale the circle on the x to 30.24.Rotate it on the z 4525.In the channel editor go to channels > key all
26.Put a plane underneath the tower and render it.
Surface Project
Surface Project.
Surface Project Due 04/18/08
For the next project you will design a surface using the various techniques we covered in class
The Parameters:
Create 3 to 5 polygon objects with the identical number of faces. These should be a reasonable simple object, derived from your inspirational image.Use the ‘blend shape’ tool to morph these object into one another in various no less than 5 iterations, animate the blends and create animation snapshots of the blends.
With no less than 3 of these blended iterations create a formal gradient across two dimensions- with no less than 25 individual shapes. Attach these shapes by extruding the faces, deleting the end faces, and merging the individual vertexes to the next shape over.
In this project you must use various deformers, such as the clusters, lattice, joints, with the use of the non-linear deformers (bend, wave, sign…)This project should be thought as an architectural pavilion- it should have a circulation, and loose program.Use a ground plan and 3D person to give scale to the project.
Deliverables:
1. The inspiration and intention of your project.
2. Process, At least 5 print screens of the process, with a brief explanation for each.
3. 3 perspectives of the pavilion. Each perspective should be shown as a 1 wire frame print screen, 1 shaded print screen, 1 Maya software rendering using the GI system, 1 mental ray rendering using ambient occlusion, 1 vector rendering, and 1 maxwell rendering. 18 images in all in a PowerPoint presentation- with one image per page, full bleed, no text.
4. The Maya file.
Subscribe to:
Comments (Atom)